We use cookies and other tracking technologies to improve your browsing experience on our website, to show you personalized content and targeted ads, to analyze our website traffic, and to understand where our visitors are coming from.
⚠️
GDPR & Cookie Policy Notice
In accordance with data protection regulations; the use of mandatory cookies is required for the core functions of our website to operate, ensure data security, and perform analytics. If you reject the use of cookies, it is not possible to benefit from the services on our website due to technical limitations and data synchronization interruptions. You must consent to the use of cookies to access the content on our site.
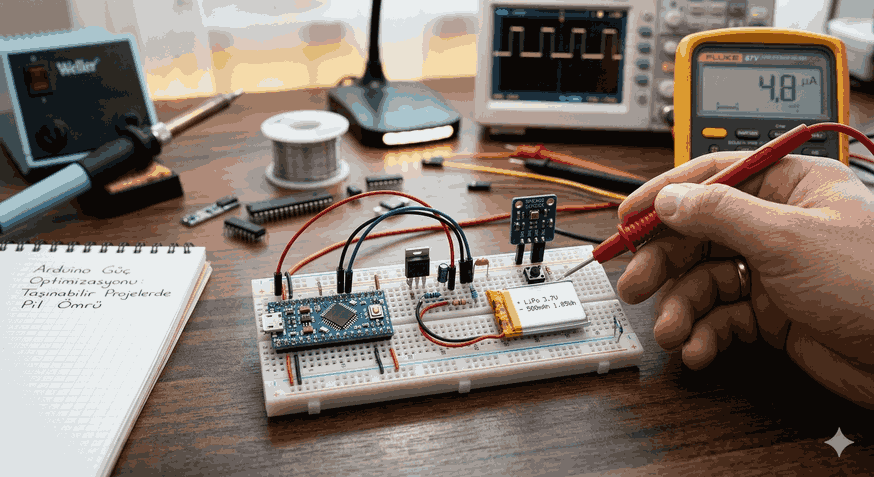
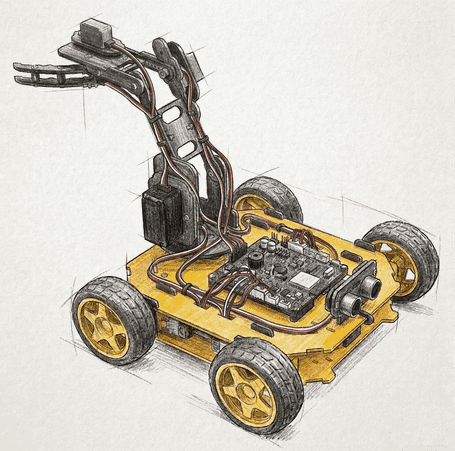
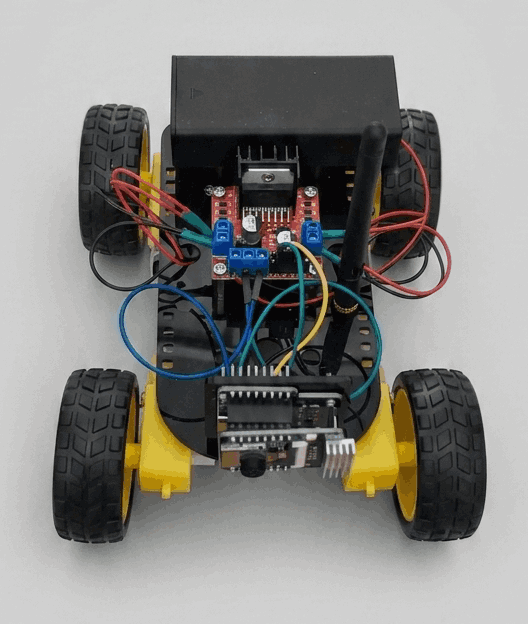
Power Management and Efficiency Strategies in Arduino Projects
The most critical bottleneck for portable electronic projects is energy consumption. Running a microcontroller with default settings is generally not sustainable for a battery-powered system. Although the Arduino platform provides prototyping ease, it is not energy-efficiency focused out of the box. A true engineering approach covers a wide range, from stripping unnecessary components on the hardware to the effective use of processor sleep modes.
Figure 1: Power Management and Efficiency Strategies in Arduino Projects.
Hardware-Level Energy Saving
Before moving to software, it is necessary to understand the physical limits of the hardware used. A standard Arduino Uno or Mega draws high current even when “idle” due to the voltage regulators and USB-to-Serial converter chips on board.
Disabling Regulators and Indicator LEDs
The “Power” LED on Arduino boards consumes approximately 5-10 mA of current as long as the system is running. Physically disconnecting this LED (or removing its resistor) alone can increase battery life by 10%. More importantly, there are the linear voltage regulators on the board (e.g., AMS1117). These regulators dissipate the difference between the input voltage and output voltage by converting it into heat. In portable projects, powering the system directly from a regulated source via the 3.3V or 5V input (Vcc pin) minimizes these losses.
Correct Voltage and Frequency Selection
In microcontrollers, power consumption is directly proportional to the operating frequency and supply voltage. While an ATmega328P draws approximately 15 mA when operating at 16 MHz with 5V, this value drops to the 3 mA level when the frequency is reduced to 8 MHz and the voltage to 3.3V. For low-power-focused projects, minimal designs like the “Pro Mini” or the use of a bare chip (Barebone) should be preferred.
Software Optimization and Sleep Modes
The most effective way to save energy at the software layer is to “put the processor to sleep” when it has no work to do. ATmega series microcontrollers offer sleep modes of varying depths.
Deep Sleep with AVR Sleep Library
Included among Arduino’s standard libraries, avr/sleep.h allows us to stop the processor’s clock signal, pulling consumption down to microamp ($\mu A$) levels. The deepest sleep mode, SLEEP_MODE_PWR_DOWN, stops almost all functions.
Using the Watchdog Timer (WDT)
When the processor is in sleep mode, a mechanism is needed to wake it up at certain intervals. If there is no external interrupt, the most logical solution is to use the Watchdog Timer. The WDT operates with an oscillator independent of the processor and can wake up the processor after a specified time (between 16ms and 8s).
Example Application: Power Saving with Watchdog
The following code block demonstrates a technical structure that optimizes energy consumption by putting the processor into sleep mode in 8-second periods:
#include<avr/sleep.h>#include<avr/wdt.h>// Watchdog interrupt vector
ISR(WDT_vect) {
// Processor woke up, but heavy operations should be avoided here
wdt_disable();
}
voidsetup() {
pinMode(LED_BUILTIN, OUTPUT);
// Prevent leakage current by setting unused pins to INPUT_PULLUP
for (int i =0; i <20; i++) {
if (i != LED_BUILTIN) {
pinMode(i, INPUT_PULLUP);
}
}
}
voidenterSleep() {
// Turn off ADC (Important: Saves energy before sleep)
ADCSRA &=~(1<< ADEN);
set_sleep_mode(SLEEP_MODE_PWR_DOWN);
sleep_enable();
// Watchdog Timer settings (8 seconds)
MCUSR &=~(1<< WDRF);
WDTCSR |= (1<< WDCE) | (1<< WDE);
WDTCSR =1<< WDP0 | (1<< WDP3); // 8 seconds configuration
WDTCSR |= _BV(WDIE);
sleep_cpu();
// OPERATIONS AFTER WAKING UP
sleep_disable();
ADCSRA |= (1<< ADEN); // Turn the ADC back on
}
voidloop() {
digitalWrite(LED_BUILTIN, HIGH);
delay(100);
digitalWrite(LED_BUILTIN, LOW);
enterSleep(); // Go into deep sleep for 8 seconds
}
Advanced Techniques: Control of Peripherals
Even if the microcontroller is asleep, some hardware modules inside it (ADC, SPI, TWI, Timer) may continue to consume energy. The avr/power.h library allows us to selectively turn these modules off.
Module-Based Power Shutdown (PRR - Power Reduction Register)
If no analog reading is being performed in your project at that moment, the Analog-to-Digital Converter (ADC) should be turned off. Similarly, if UART (Serial Communication) is not active, turning it off provides significant savings.
#include<avr/power.h>voidpowerOptimization() {
power_adc_disable(); // Disable ADC
power_spi_disable(); // Disable SPI unit
power_twi_disable(); // Disable I2C unit
power_timer1_disable(); // Disable Timer1
// _enable() is used to turn it back on when needed.
}
GPIO Management and Leakage Currents
Input pins left floating cause internal logic gates to constantly change state due to electrical noise, resulting in “floating” current losses at the microamp level. All unused digital pins should either be set to OUTPUT mode or pulled to a fixed logic level using internal INPUT_PULLUP.
Power Management of Sensors and Peripheral Components
Optimizing just the microcontroller is not enough; sensors, displays, or communication modules (Bluetooth, LoRa, Wi-Fi) connected to the system usually draw more current than the processor.
Transistor Switching: Instead of powering a sensor directly from an Arduino pin, it should be powered via a MOSFET or transistor. This way, the sensor’s power can be completely cut off before entering sleep mode.
Low-Power Sensor Selection: For example, when choosing a temperature sensor, digital sensors with “Single-shot” (one-time measurement) modes (e.g., BME280) should be preferred over those that are constantly active.
Communication Modules: Although modules like ESP8266 or HC-05 have “Deep Sleep” modes, controlling their EN (Enable) pins with the microcontroller is the most definitive solution.
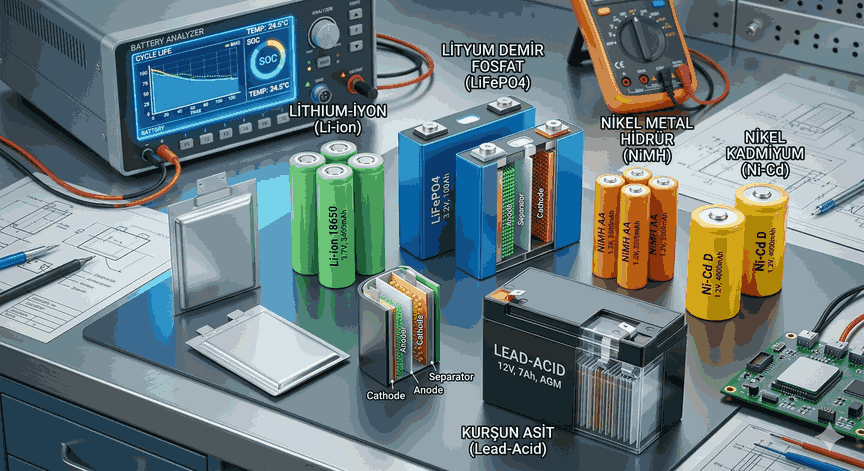
Battery Technologies and Voltage Regulation Selection
The heart of the project is the battery. However, the battery chemistry and how the voltage is regulated determine the total efficiency.
LiPo and Li-ion Batteries: They offer high energy density but have a 3.7V nominal voltage. If the system operates at 3.3V, a Low-Dropout (LDO) regulator should be placed in between. Regulators like the MCP1700 are ideal for this job, with a self-consumption of only 1.6 $\mu A$.
LiFePO4 Batteries: Thanks to their 3.2V nominal voltage, they can be connected directly to 3.3V systems without using a regulator. This reduces regulator loss to zero.
Buck-Boost Converters: If the input voltage drops as the battery nears depletion, efficient switching regulators should be used. Operating with 90%+ efficiency, they ensure the battery is used until the last drop.
Engineering Notes and Critical Warnings
Note 1: When using serial communication (Serial.print), it is important to use the Serial.flush() command before entering sleep mode. Otherwise, the clock signal may be cut off before the data is sent, resulting in erroneous characters.
Note 2: During the use of interrupts, performing debouncing in hardware (with a capacitor) rather than in software saves the processor from unnecessary wake-ups.
Note 3: The Arduino Bootloader causes a delay of a few seconds at startup. In highly critical energy scenarios, the Bootloader should be deleted and the program loaded directly via ISP.
Conclusion
Power optimization on Arduino is the sum of a series of small gains. Removing unnecessary loads from the hardware, running the processor in the correct sleep modes, and managing peripherals intelligently can increase your project’s battery life from days to months, or even years. An engineering approach always requires achieving the highest stability with the lowest resources needed. Efficiency should not be a feature, but a cornerstone of the design.